As part of our One Book-One School Initiative, we read The Fault in Our Stars. Our school will be doing various activities centered around the book. I was approached to help student crochet items to donate to cancer patients. This led me to discover a charity called Crochet for Cancer. I wrote this basic pattern (which I actually use as the base for many of the patterns in my shop) to share with my students.
I've decided to share it with the community at large in hopes that it will be used for more donations. If you use this pattern for hats you sell, please give me credit and provide a link to this pattern.
I've decided to share it with the community at large in hopes that it will be used for more donations. If you use this pattern for hats you sell, please give me credit and provide a link to this pattern.
If you choose to donate caps, guidelines are proved here along with contact information for making your donation. They also have a large collection of free chemo cap patterns.
Erma’s
Inspiration Basic Double Crochet Beanie for all sizes
Size
|
Height
in inches
|
Circumference
in inches
|
Newborn
(0-3 months)
|
5.5-6
|
12-15
|
3-6 months
|
6.5-7
|
14-17
|
6-12
Months
|
6.5-7.5
|
16-19
|
Toddler
|
8
|
18-20
|
Child
|
8.5
|
19-20.5
|
Teen/Adult
Female
|
9-10
|
21.5-22.5
|
Teen/Adult
Male
|
10
|
23-24
|
Supplies
H-Hook
Worsted
Weight Yarn
Abbreviations
DC- double
crochet
SC- Single
Crochet
CH-chain
SL ST-
Slipstitch
STS-
stitches
1.
Begin by
making a magic circle. Chain 3, 10 DC in
ring. Pull magic ring tight SL ST into top of CH 3 (10 STS)
a.
There are tutorials on YouTube for a magic ring
if you are unfamiliar or you can:
CH 4. SL ST into 1st CH. CH3, DC 10 in ring, SLST into top of CH 3
Here's a tutorial for the Magic Circle using Double Crochet, this tutorial is a little better BUT she is using single crochet
2.
CH3, 2 DC in each DC. SL ST into top of CH 3 (20 STS)
3.
CH 3. [2 DC in next DC, DC in next DC] repeat to
end. SL ST into top of CH 3 (30 STS)
4.
CH 3. [2 DC in next DC, DC in next 2 DC] repeat
to end. SL ST into top of CH 3 (40 STS) For Newborn size skip to #9
5.
CH 3. [2 DC in next DC, DC in next 3 DC] repeat
to end. SL ST into top of CH 3 (50 STS)
For 6-12 month skip to step #9
****FOR 3-6
MONTH SIZE ONLY CH 3 [2 DC in next SC,
DC in next 9DC] repeat to end. SL ST
into top of CH 3. (55 STS) skip to step
#9****
6. CH
3. [2 DC in next DC, DC in next 4 DC] repeat to end. SL ST into top of CH 3 (60
STS) for Toddler size skip to step #9
****FOR
CHILD SIZE ONLY CH 3. [2 DC in next DC, DC in next 11 DC] repeat to end. SL ST
into top of CH 3 (65 STS) skip to step #9****
7.
CH 3. [2 DC in next DC, DC in next 5 DC] repeat
to end. SL ST into top of CH 3 (70 STS)
for Teen/Adult Female size skip to step #9
8.
CH 3. [2 DC in next DC, DC in next 13 DC] repeat
to end. SL ST into top of CH 3 (75 STS) (Only for Teen/Adult Male)
9.
CH3, DC in each DC around. SL ST into top of CH
3. Repeat until the proper number of rows is achieved.
a.
For Newborn- repeat 6 times for a total of 10 rows
b.
For 3-6
months-repeat for a total of 11 rows
c.
For 6-12 months- repeat 7 times for a total of
12 rows
d.
For Toddlers- repeat 7 times for a total of 13
rows
e.
For Children- repeat 7 times for a total of 14 rows
f.
For Teen/Adult Females- repeat 8 times for a
total of 15 rows
g.
For Teen/Adult Males- repeat 8 times for a total
of 16 rows
*always
measure to make sure your hat falls into the proper size range. See Size chart
at the top of pattern
10.
CH 1. SC
in each DC around. SLST into CH1. Tie
off and weave in ends.
Optional: Change colors during row
changes for stripes. Embellish with
appliques.
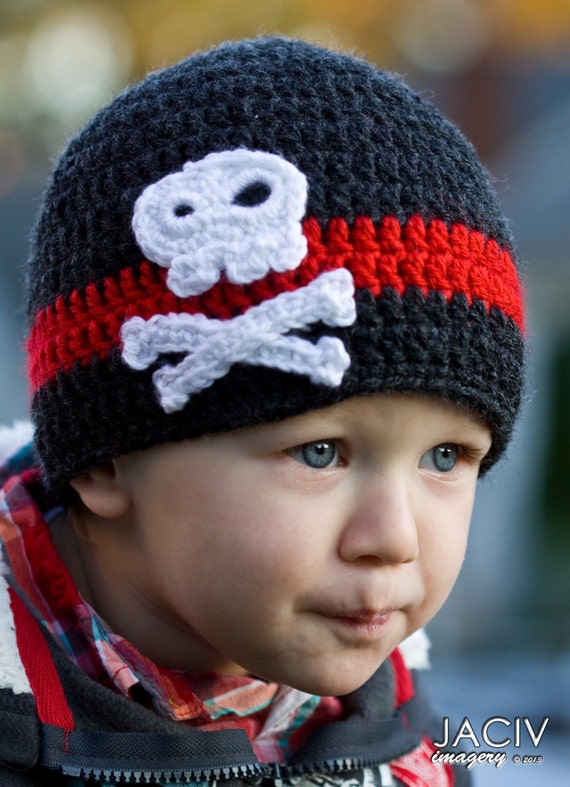
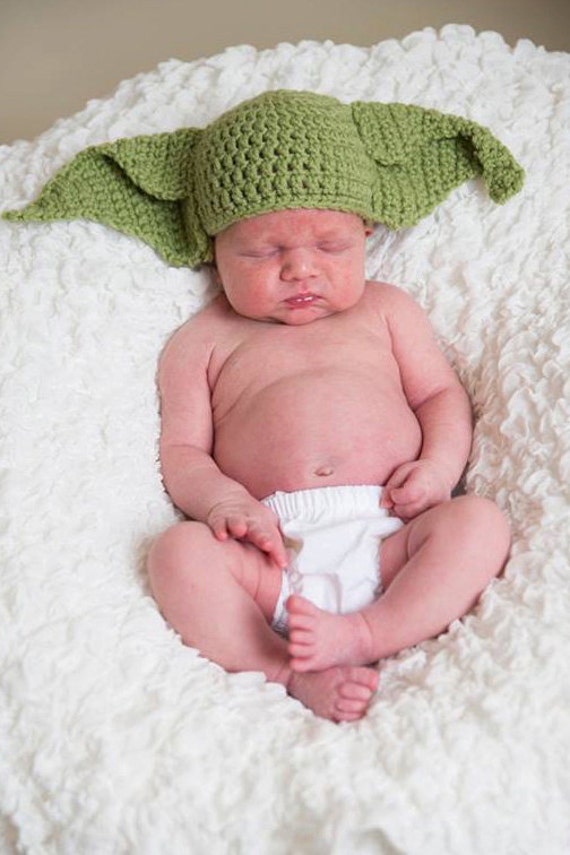
Here are some examples of hats I've created using this pattern: